ArmA 3 Apex Protocol Campaign
This campaign is different than any others released so far in the ArmA franchise as it
is actually a co-op multiplayer mission, but it can be played solo. However there are NO SAVES, but there are infinite respawns. You cannot even save the state of the game if you have to leave for "real life", the best you can do is pause it, then resume. Once you complete a mission, you will be be able to exit the game, then start the next mission when you play again.
01: Keystone
You start off with two AI, but they soon depart leaving you on your own to capture the first objecive.
Follow the waypoit and when you get within 70 meters of the building, go prone and pick off targets as they come into view. This lot is pretty stupid, if you get killed by one of them, you need more practice! Don't go in the building until you have cleared all the enemy outside. You will get "clear the outpost complete" once you have done that. Check the building when ordered.
There will be no resistance inside.
Your next task is to clear location code named "New York" The men here are a lot sharper! Do not go in direct. Instead go to 049038.
Avoid contact with men you might find at 049040. Head for the jeep at 049038. Take out the two men you find there, then lay down in the road at 050037.
From this positon you will be able to snipe most of them, and you will be too far away for them to fire effectively. Use the map to find enemy you may not be able to spot otherwise.
As in the first objective, clear all enemy outside before going in the building. Inside you will find a local cop tied up. Point to him, then press and hold the spacebar to free him. He will tell you of enemy at the radio tower.
Go there. The skill of the men here is between that of the first objective and New York. Clear that first before going on to the Toronto objective. Avoid contact until you get to the tower, even if you have to go out of your way or respawn back at the London objective to do so.
Once the tower is announced as cleared, go to the Toronto objective. As you approach you will make contact with the AI troops. Go to the right as suggested go prone and crawl to within view of the buildings.
When you fire your first shot, the AI will move in. Let them do most of the work. There will be a few enemy loons that they won't be able to spot, you will have to shoot those. Once all enemy in the area are killed, the mission ends and sends you to:
02: Warm Welcome
The first task is to RV with Raider 1. Just cut straight through the jungle, watching out for enemy.
Once at the RV point pick up some satchels and explosive charges. Go to the waypoint indicated. Lay charges every 10 meters then hide.
The convoy is thought to be two vehicles. Touch off your bombs when the last truck is on your first satchel. You should see this if you did it right
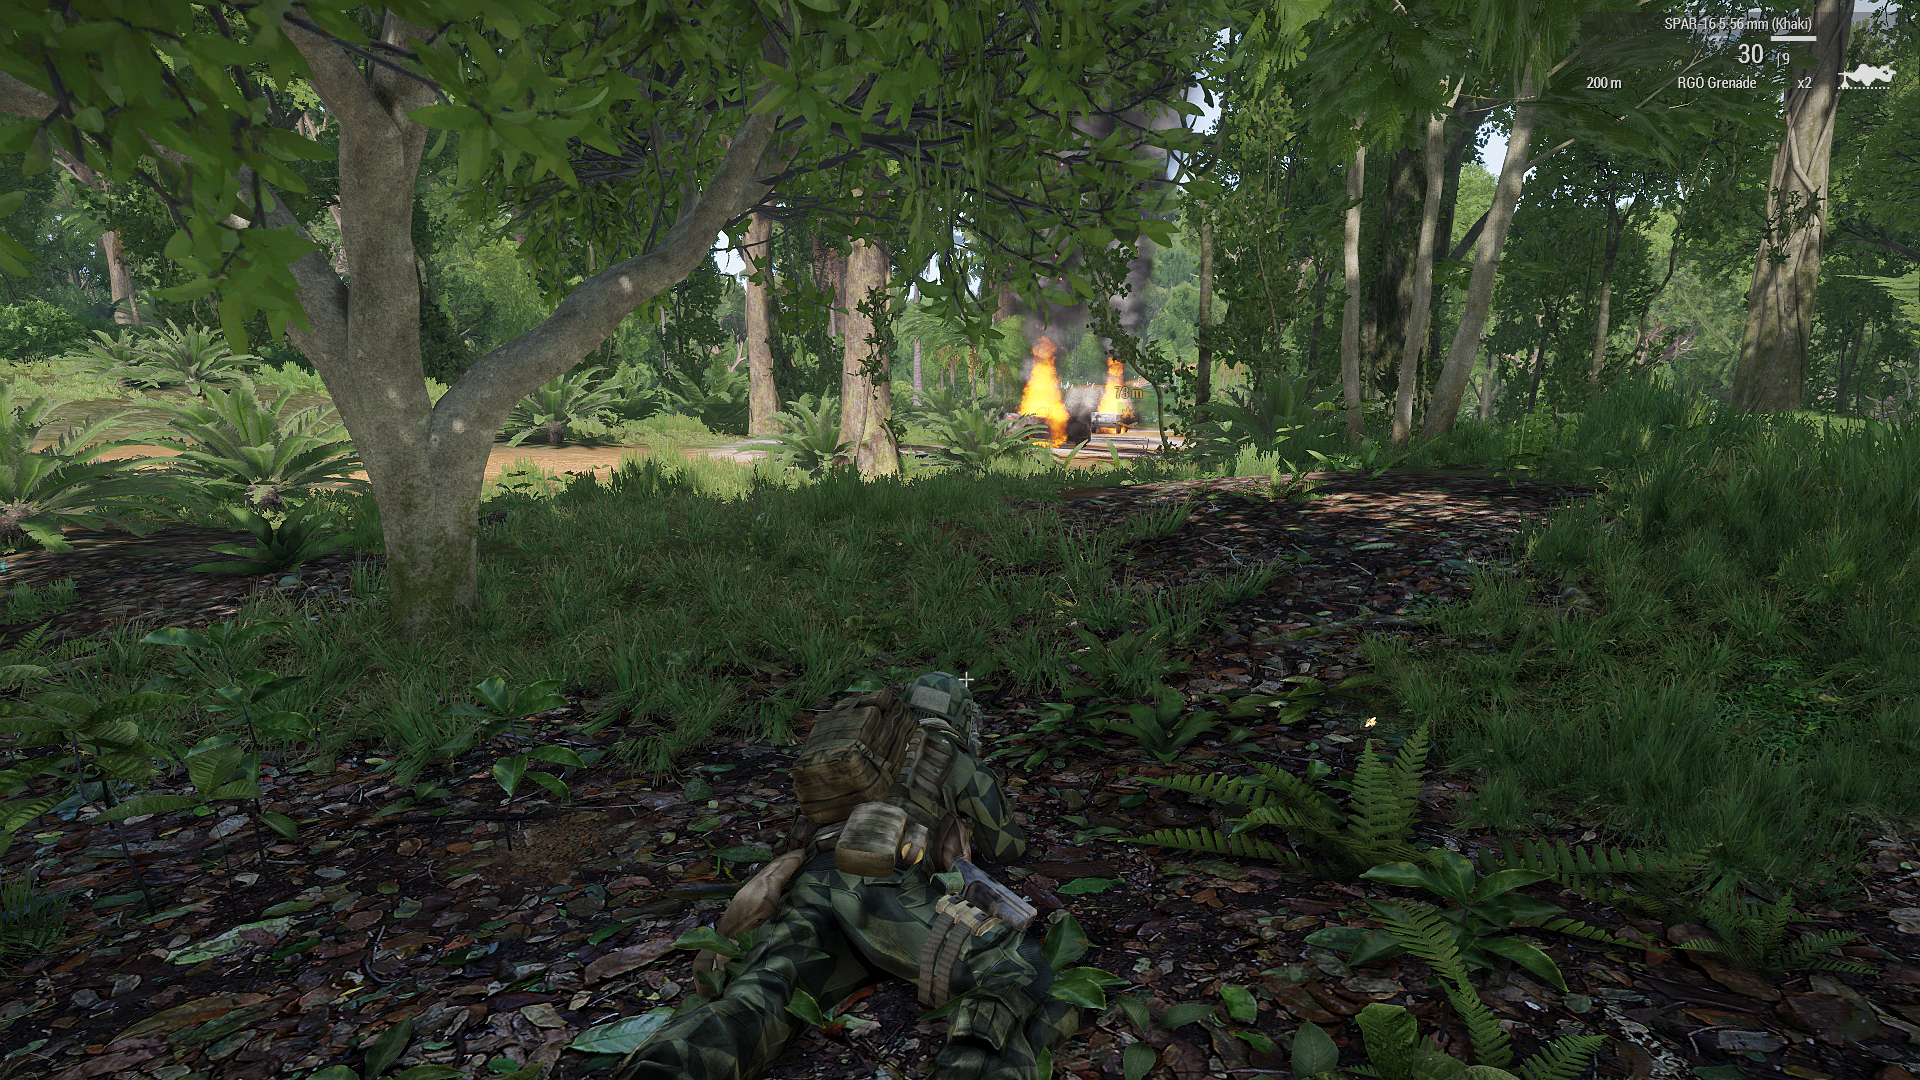
There is a third pickup truck with a machine gun mounted in the bed that you will probably miss, but your AI friendlies will abush it with no problem.
The next task is to investiage a footpath for enemy. Follow the path. Shoot anyone holding a weapon. Follow orders. Once you complete that task, you get a waypoint for extraction. Go to the waypoint and board the chopper to end the mission.
03: Firestarter
This mission is to destory an ammo dump. Avoid contact on the way in. Use the terrain for concealment and cover. Once at the site, enter the building. You will find the first cache there. Set a bomb. Then check the shipping containers next to the building, You will find fuel and ammo there as well. Set your bombs, then go back the way you came a bit, take cover behind a rock and blow your satchels. The explosion will kill any enmey nearby as well as accomplish the task. Check for any missed weapons, use your last bomb to destroy them if found. Leave before the enemy
responds. Go to your evac point, watching for enemy, avoid contact if possible, these men are sharp shooters. I found it best to head NE and get out of the thick jungle until closer to the RV point. There you will find a jeep. Use it to drive to the actual extract point as quick as you can without rolling it. You will be shot at, but if you drive fast enough, they won't hit you. Once aboard the aircraft, the mission ends.
Bug Alert! The only option is to "drive" not get in as passenger. But driving will trigger the end.
04: Heart of Darkness
You are tasked with capturing or killing Warlock, but as I suspected the intel was bad and you walked into a trap. The game does not give you the option of just leaving, you have to kill all enemy present. Use your night vision goggles. Look for laser beams, and either shoot at the origin point or sneak up behind them.
Once that is done you are ordered to go to the secondary extract point. Be careful when crossing roads. Avoid all traffic. Done correctly you will get to the truck undetected.
05: Extraction
Another mission that starts out too good to be true. The task to go to the beach is uneventful, but the arrivng boat is blown out of the water and you have to make it to a secondary extrat point. Your AI companions are not much help, while
they don't get killed, they are not very good shots. However if you wait to respawn, they will eventually kill nearby enemy and you can proceed. Your luck is not good, the helicopter that was to extract you gets shot at and you have
to go to a tertairy site on the other side of the island. Avoid contact if possible, but you will have to lead the way and engage as necessary. Once you get to the site, at least your rubber boat is intact. Just stand near it to end the mission.
06: Apex Protocol
The first task after the RV with Riker is to eliminate a three man patrol. Easy. Go to the land drone and take over the terminal. Then go to "Texas" waypoint and elimiate all enemy there.
Once that is done, clear all the other targets in any order desired. You can take over one of the land drones and use it to clear "Washinton" and anything else not too deep in the jungle. If you wreck one there are two others available.
Once you clear all the objects, get away from any of the drones as they will self destruct taking out anything nearby. RV with Riker to end the mission.
07: End Game
This is the hardest mission of the whole game. The enemy here are highly skilled. Prepare to spend two to three hours on it if playing solo. When possible sneak up from the rear. After you get the disarm code, it is a long way from there to where the Eastwind device is. Grab a vehicle and run all
the enemy down on the way over, that will save a lot of respawns. Once the Eastwind device is disarmed, the game still is not over. You have to eliminate the Viper forces as well. Although you get more friendly AI, they stay near the Eastwind
device to defend it. You have to go out and kill the stragglers. When only two are left, the mission will end with the closing cutscene.